HOME  

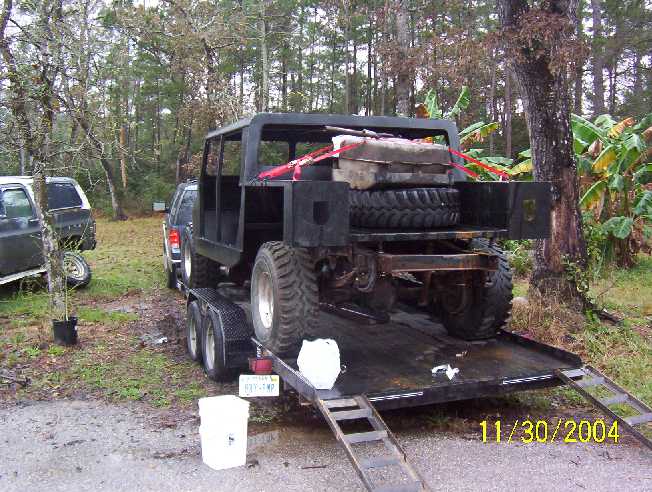
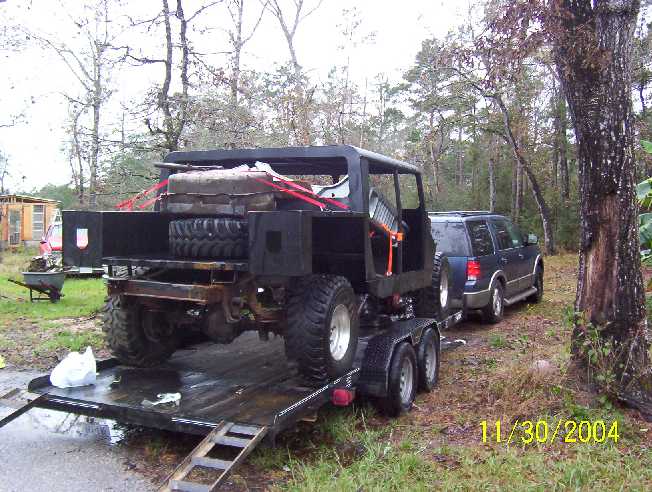
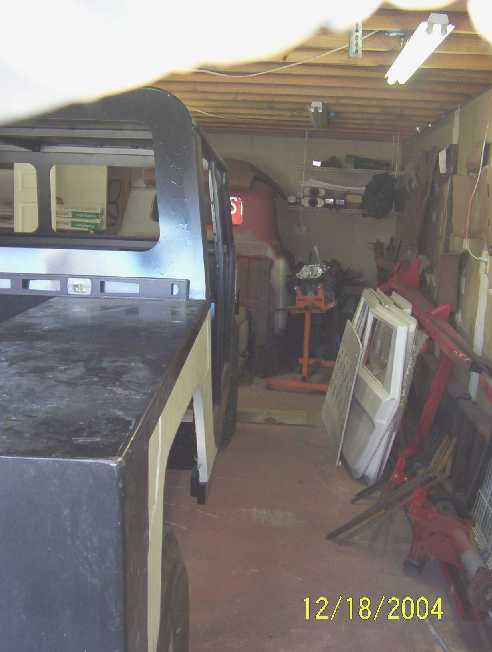
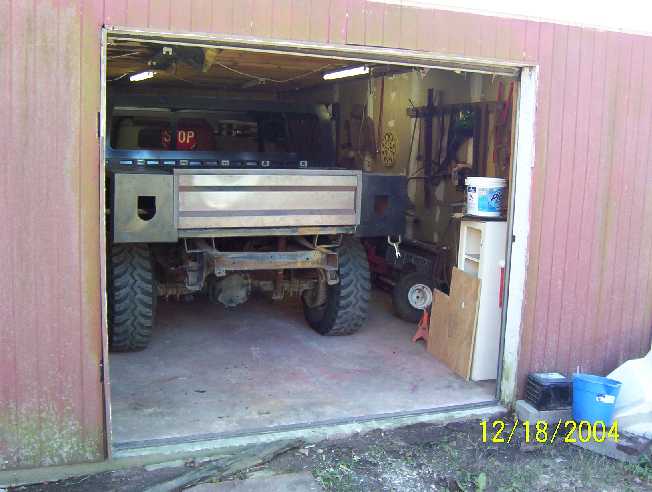
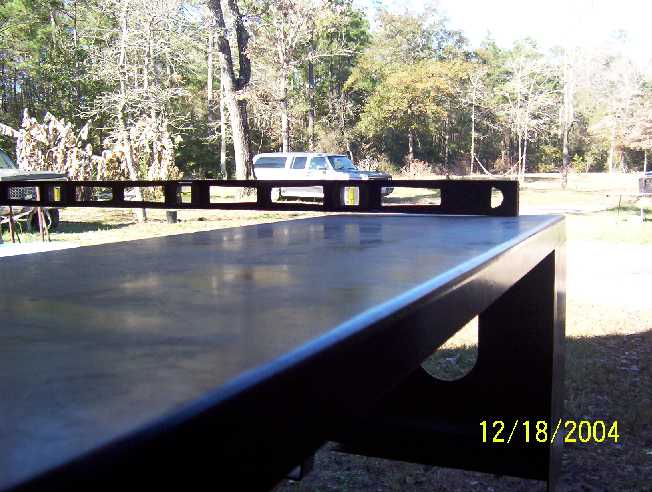
Here are several shots of the Hummer on the trailer before unloading. The Expedition was completely full and there was no way that anyone could have road with me.


In the back ground you can make out the Chicken House, the shop and a 80 GMC K5 4x4. This truck was going to be used for the running gear. The body is completely rusted out. I have another 79 Chevy 1/2 ton that I was going to use for the frame and replace the running gear. Depending how my Hummer turns out I may build another one but a soft top.

My shop consists of a 30 by 30 foot space that has been divided into 12 by 30 ft and 18 by 30 ft. The 12 by 30 ft is used to do wood working and store all my tools, hydraulic press, drill press, and work benches. The 18 by 30 ft housed the 55 Chevy and all kinds of junk that had been collected over the last few years. My first step was to clean out the shop so that I could get the Hummer into the shop.

Here you can see that the shop is cleaned out and that I was using my tractor to pull the Hummer out of the garage. My wife was happy to have her parking space back.

I took this shot to see just what it might look like. I love this truck. This is about the right height but I plan to lower the back a little when I replace the springs with shorter ones.

With the Hummer finally in the shop I was ready to get started.

In this photo you can make out the cab and frame of the 55.
I took the body and started aliening it up to the frame. This is where the fun started. The Workmanship that was done by UG is unbelievable. This body was built back in Jan 2003 when the company was owned by another company. so the following is not a reflection on the current owner/operator of Urban Gorilla (4x4Bodies.com). I would have never accepted this body from UG if it had been delivered to me. The following is a list of what I have found wrong.

  1. Door skins are to thin, 1/8 inch don't get it.
  2. Rear quarter panels are not the same from side to side.
  3. Rear quarter panels are only 1/8 inch thick.
  4. Rear quarter panels are to long by an inch and intrude into the rear door opening.


  5. Rear quarter panels have no way of being mounted to the back half of the door area.
  6. The bed of the truck is not square.

  7. The bed is not flat. Look under the 7' long steel level. At the point where the tailgate is to close, there is .25 inches.
  8. The bed is shorter at the top than at the bottom. No jig used!
  9. The back window steel is wavy.
  10. The drip rail on the left side is longer than the one on the right side.
  11. The right side B pillar is at 8 degrees instead of 5 degrees.

  12. The roof at the right side B pillar is pushed in by ½ inch.
  13. Foot wells on the right side are 1 inch wider than the left.
  14. Measuring from the outside to the inside of the tunnel is different from side to side and even on the same side.
  15. Rubber weather stripping for doors will not fit due to the metal strips being overlapped and welded.

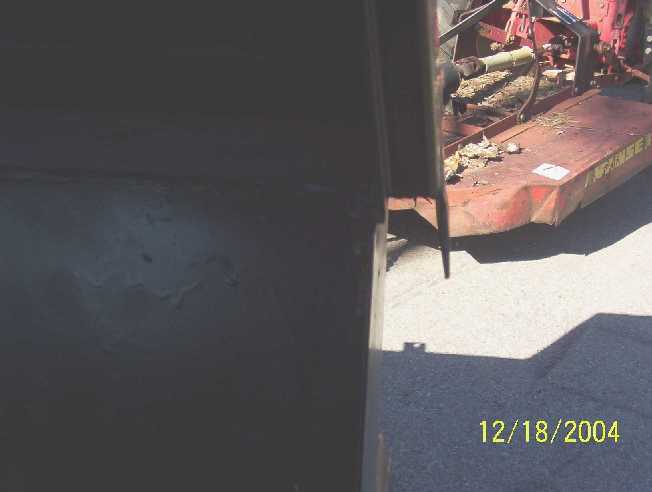
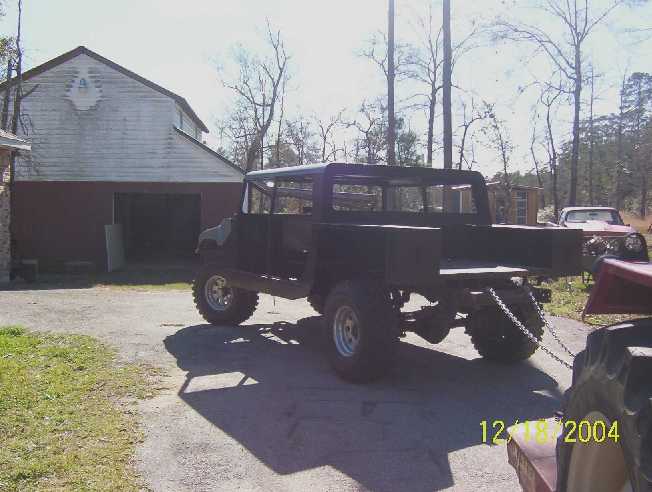
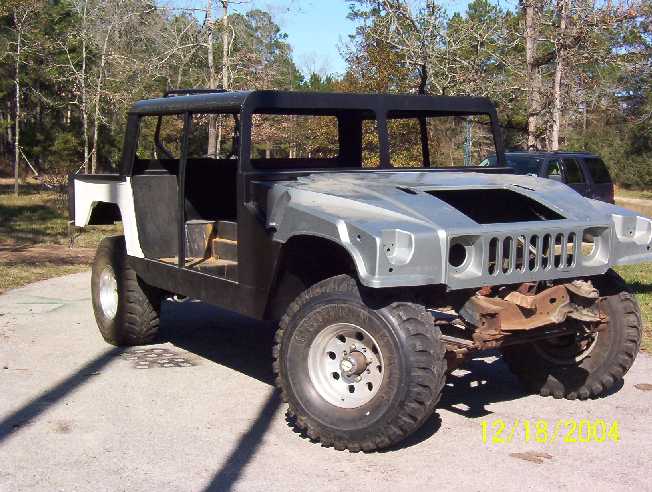
I still think I got a super deal as I can fix 95%+ of the problems. I have a lot of fixing to do. All the seams have to be welded and ground down. The B pillar will have to be fixed along with the drip rail. I will have to use a hydraulic jack to push the top of the bed out. And placing the body on the frame will take some thinking. And the back window will have to be straightened somehow.

Over the Christmas holidays I was able to get the Hummer into the shop and started remaking the body mounts.
I will have 8 body mounts due to the weight of the body. Two under the bed and two under the main body.

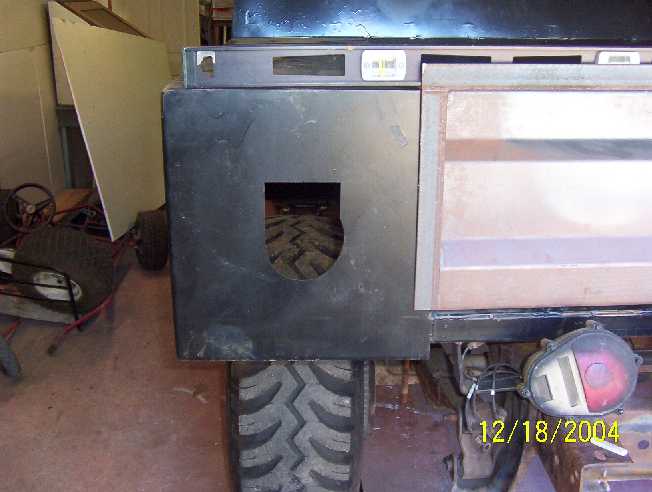
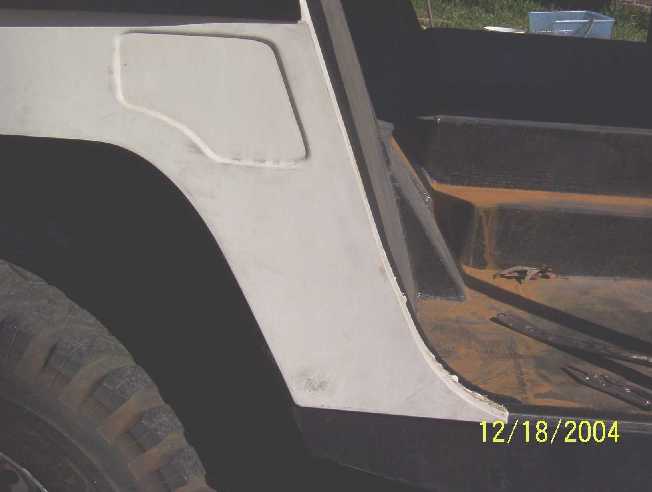
Here is a better picture of the bed and how off it is.

The tail light cut outs are for standard civilian lights. Since I have Military lights I have to make the change. Using a T-Square that is normally used to measure sheet rock, I was able to square up. I measured in 8 inches and drew a line down.


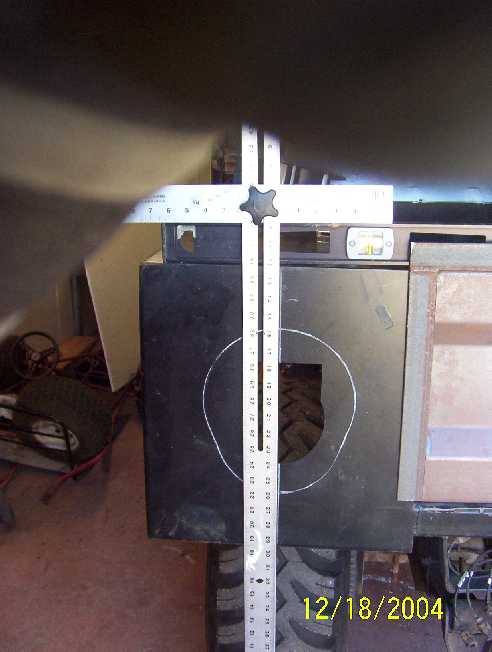
At this point I traced the light bezel. I'll make a template to make the marks for cutting out.

Well time to go to work. I'll update when I can.

I have shorter rear springs and will install them after the body and hood have been mounted. Once they have been mounted, I'll remove the body and have the frame cleaned. I'll move the spring hangers in, making the rear bumper closer to the body.

I've noticed everyone mounting there hood solid to the frame. I'm thinking of making the mount bolt to a body mount just like other trucks. If the mount can handle the hood tilting then that's the way I'll go. I'm going to change the metal strip that is used to hold the door weather stripping. This is not very strong and getting in and out of the truck would in the future bend or break. By doing this I'll mount the doors then weld the seal rails in place. This should provide a better seal for the doors.

Interior is going to be modeled after the new H1models. The seats that I currently have are cloth, these will be changed to leather. Tandy leather craft sells imitation leather skins (alligator as well as others). I'll be using the dark tan alligator for the center of the seats and light tan leather of the outer edges. My wife sews and can do this. The center section will be covered with leather craft tooling (like on billfolds, I do this for a hobby) and aluminum panels that will house switches. AC will be provided by the front and rear controls. A Pioneer AVIC-N1 radio will also be installed. Standard GMC air control switches will control the AC and Heat unit. Tan carpet will be installed and the outside painted dark royal metallic blue. I already have Auto Meter gauges that will be used. I also plan to have an onboard tire pressure monitoring system.


Back to the First Page
Next Page of the Build